

Unlike chemical, non-breathable paints, linseed oil paint offers a durable, long-lasting finish that won't crack or peel. This means no sanding during renewal, making maintenance straightforward and eco-friendly. In this guide, we'll walk you through the steps to keep your linseed oil paint in top condition for years to come.
Why Choose Linseed Oil Paint?
Linseed oil paint is a natural alternative to synthetic coatings. It penetrates deeply into wood surfaces, providing flexibility and protection while allowing the material to breathe. Over time, rather than flaking or peeling, the finish simply wears down, requiring only a light refresh rather than complete removal.
Signs That Your Paint Needs Renewal
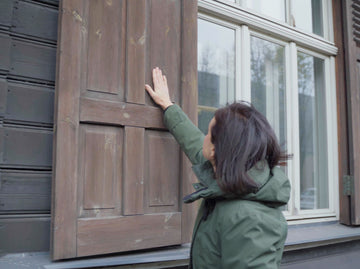
To determine when it's time for renewal, look for these signs:
- A dull or dry appearance
- Surface roughness or minor weathering
- Slight absorption of water (beading water indicates the paint is still intact)
Step-by-Step Guide to Renewal
1. Clean the Surface – Remove dirt, dust, and debris using a soft brush or mild soap and water. Allow the surface to dry completely.
2. Apply Fresh Linseed Oil Paint – Use a brush or roller to apply a thin layer of boiled linseed oil-based paint.
3. Allow Proper Drying Time – Depending on temperature and humidity, drying may take 24–48 hours.
4. Repeat if Necessary – For high-exposure surfaces, a second thin coat may be beneficial.
Tips for Long-Term Maintenance
- Perform an annual inspection and touch up areas as needed.
- Store linseed oil paint and oil-soaked rags properly to prevent combustion.
- Avoid applying thick layers, as they may remain tacky and delay drying.
Conclusion
Linseed oil paint is an excellent choice for a sustainable, low-maintenance finish that preserves and protects surfaces naturally. With proper care, your paint will last for decades without the need for harsh stripping or sanding.