

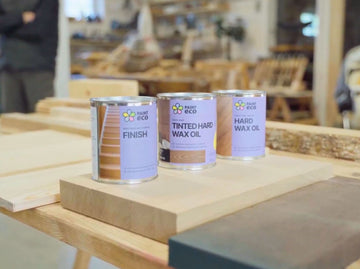
Achieve a Long-Lasting, Stunning Finish in Two Simple Steps. Wooden floors deserve the best care, and the perfect solution is a two-step approach: starting with a coat of natural or tinted hard wax oil, followed by a durable second coat of Hard Wax Coating Finish. This combination ensures both beauty and protection, making your floors resistant to wear while preserving their natural elegance.
Step 1: Apply the First Coat – Natural or Tinted Hard Wax Oil
The first coat is all about bringing out the natural beauty of the wood. Whether you prefer a colorless option to maintain the original tone or a tinted version for a richer hue, this layer deeply penetrates the wood to enhance its grain and protect it from within.
How to Apply the First Coat:
For the best tinting results: Moisten the floor by washing it with clean water and allow it to dry for 30 minutes before applying the first coat. This helps the oil absorb more evenly and enhances the richness of the tint.
1. Shake and stir the hard wax oil well before use.
2. Clean and prepare the wood surface, ensuring it’s smooth, dry, and free of dust or debris.
3. Apply a thin, even layer using a brush, roller, or polishing disc, always working along the grain of the wood.
4. Let it absorb for 15–20 minutes, then wipe off any excess with a clean cloth or paper towel to avoid a sticky surface.
5. Leave to dry for 24 hours before proceeding to the second coat.
Pro Tip: Ensure the surface feels dry to the touch before moving on. If it’s sticky, you may need to remove excess oil or allow more drying time.
Step 2: Apply the Second Coat – Hard Wax Coating Finish
Once the first coat has fully dried, it’s time to seal and protect the surface with a layer of Hard Wax Coating Finish. This oil/varnish hybrid forms a tough, wear-resistant barrier that’s perfect for high-traffic areas like hallways, kitchens, and stairs.
How to Apply the Second Coat:
1. Ensure the first coat is completely dry (usually after 24 hours).
2. Use a microfiber roller for an even application.
3. Apply a very thin, even coat, working along the grain of the wood. Unlike the first coat, there’s no need to wipe off excess.
4. Allow to dry for 18–24 hours. Cooler temperatures or high humidity may extend the drying time, so be patient.
Pro Tip: A thin coat is key to preventing a tacky finish. Too much product can lead to uneven drying.
Aftercare and Maintenance Tips
- Avoid heavy use during the first week after application. Don’t place rugs or furniture on the floor until the finish has fully cured.
- Clean regularly using a broom or vacuum to prevent dirt buildup.
- For periodic renewal, simply apply a fresh thin coat of the Hard Wax Coating Finish—no need to sand the surface.
Protect Your Work:
- Use felt pads under furniture legs to prevent scratches.
- Never drag heavy objects across the floor.
Safety Precaution: Handle with Care
Oil-soaked cloths can spontaneously ignite due to heat buildup. Always clean or soak them in water after use.
Conclusion: A Winning Combination for Long-Lasting Floors
By combining a first coat of Natural or Tinted Hard Wax oil with a second layer of Hard Wax Coating Finish, you’ll achieve a floor that’s both visually stunning and highly durable. With minimal maintenance, your floors will stay protected and beautiful for years to come.